
One day (like, back in December-when-it-was-still-cold one day), as I was trawling across Pinterest like I do, I came across this pin:

The caption of the pin read: “DIY Incredible Knitted Mustard Hat – Super Easy and Awesome”. Ooh! I thought. Super easy awesome free knitted hat pattern! So I clicked it. The link took me here: a fashion design blog written in French, with beautiful designs, gorgeous handmade products for sale, and nary a knitting pattern in sight.
So, being the masochist that I am, I decided to figure out the pattern by myself. It couldn’t be that hard, right? Just some sort of rib with a wide wale, and a huge pompom on top?
As my not-so-subtle leading question would imply, with any pattern I attempt to replicate, the project took me many, many, many evenings of researching knitted rib patterns, figuring out how they work in the round, how to decrease them, the appropriate gauge, etc etc etc. However, after many dribbling tears, I think I’ve finally got this hat (more or less) in my adult head size.
The trick to this hat is a stitch known loosely as “brioche”, or “fisherman rib”, or “prime rib”… honestly, I have no idea what the technical term is, because each of those stitches has a few different variations. Plus, the skills behind each stitch varied excessively widely from one source to the next. There were all sorts of skippings, slippings, knitting fronts and backs, etc. But, the one I found to be the easiest was the most straightforward: k1, k1 below, repeat. The end. The result is a very stretchy, giving fabric.
(I think *technically* the stitch in the pictured hat above is a “brioche“, vs. the stitch I’m using is “fisherman rib“, or a “brioche rib“, but whatever, my version is easy and it gets the point across, yes?)

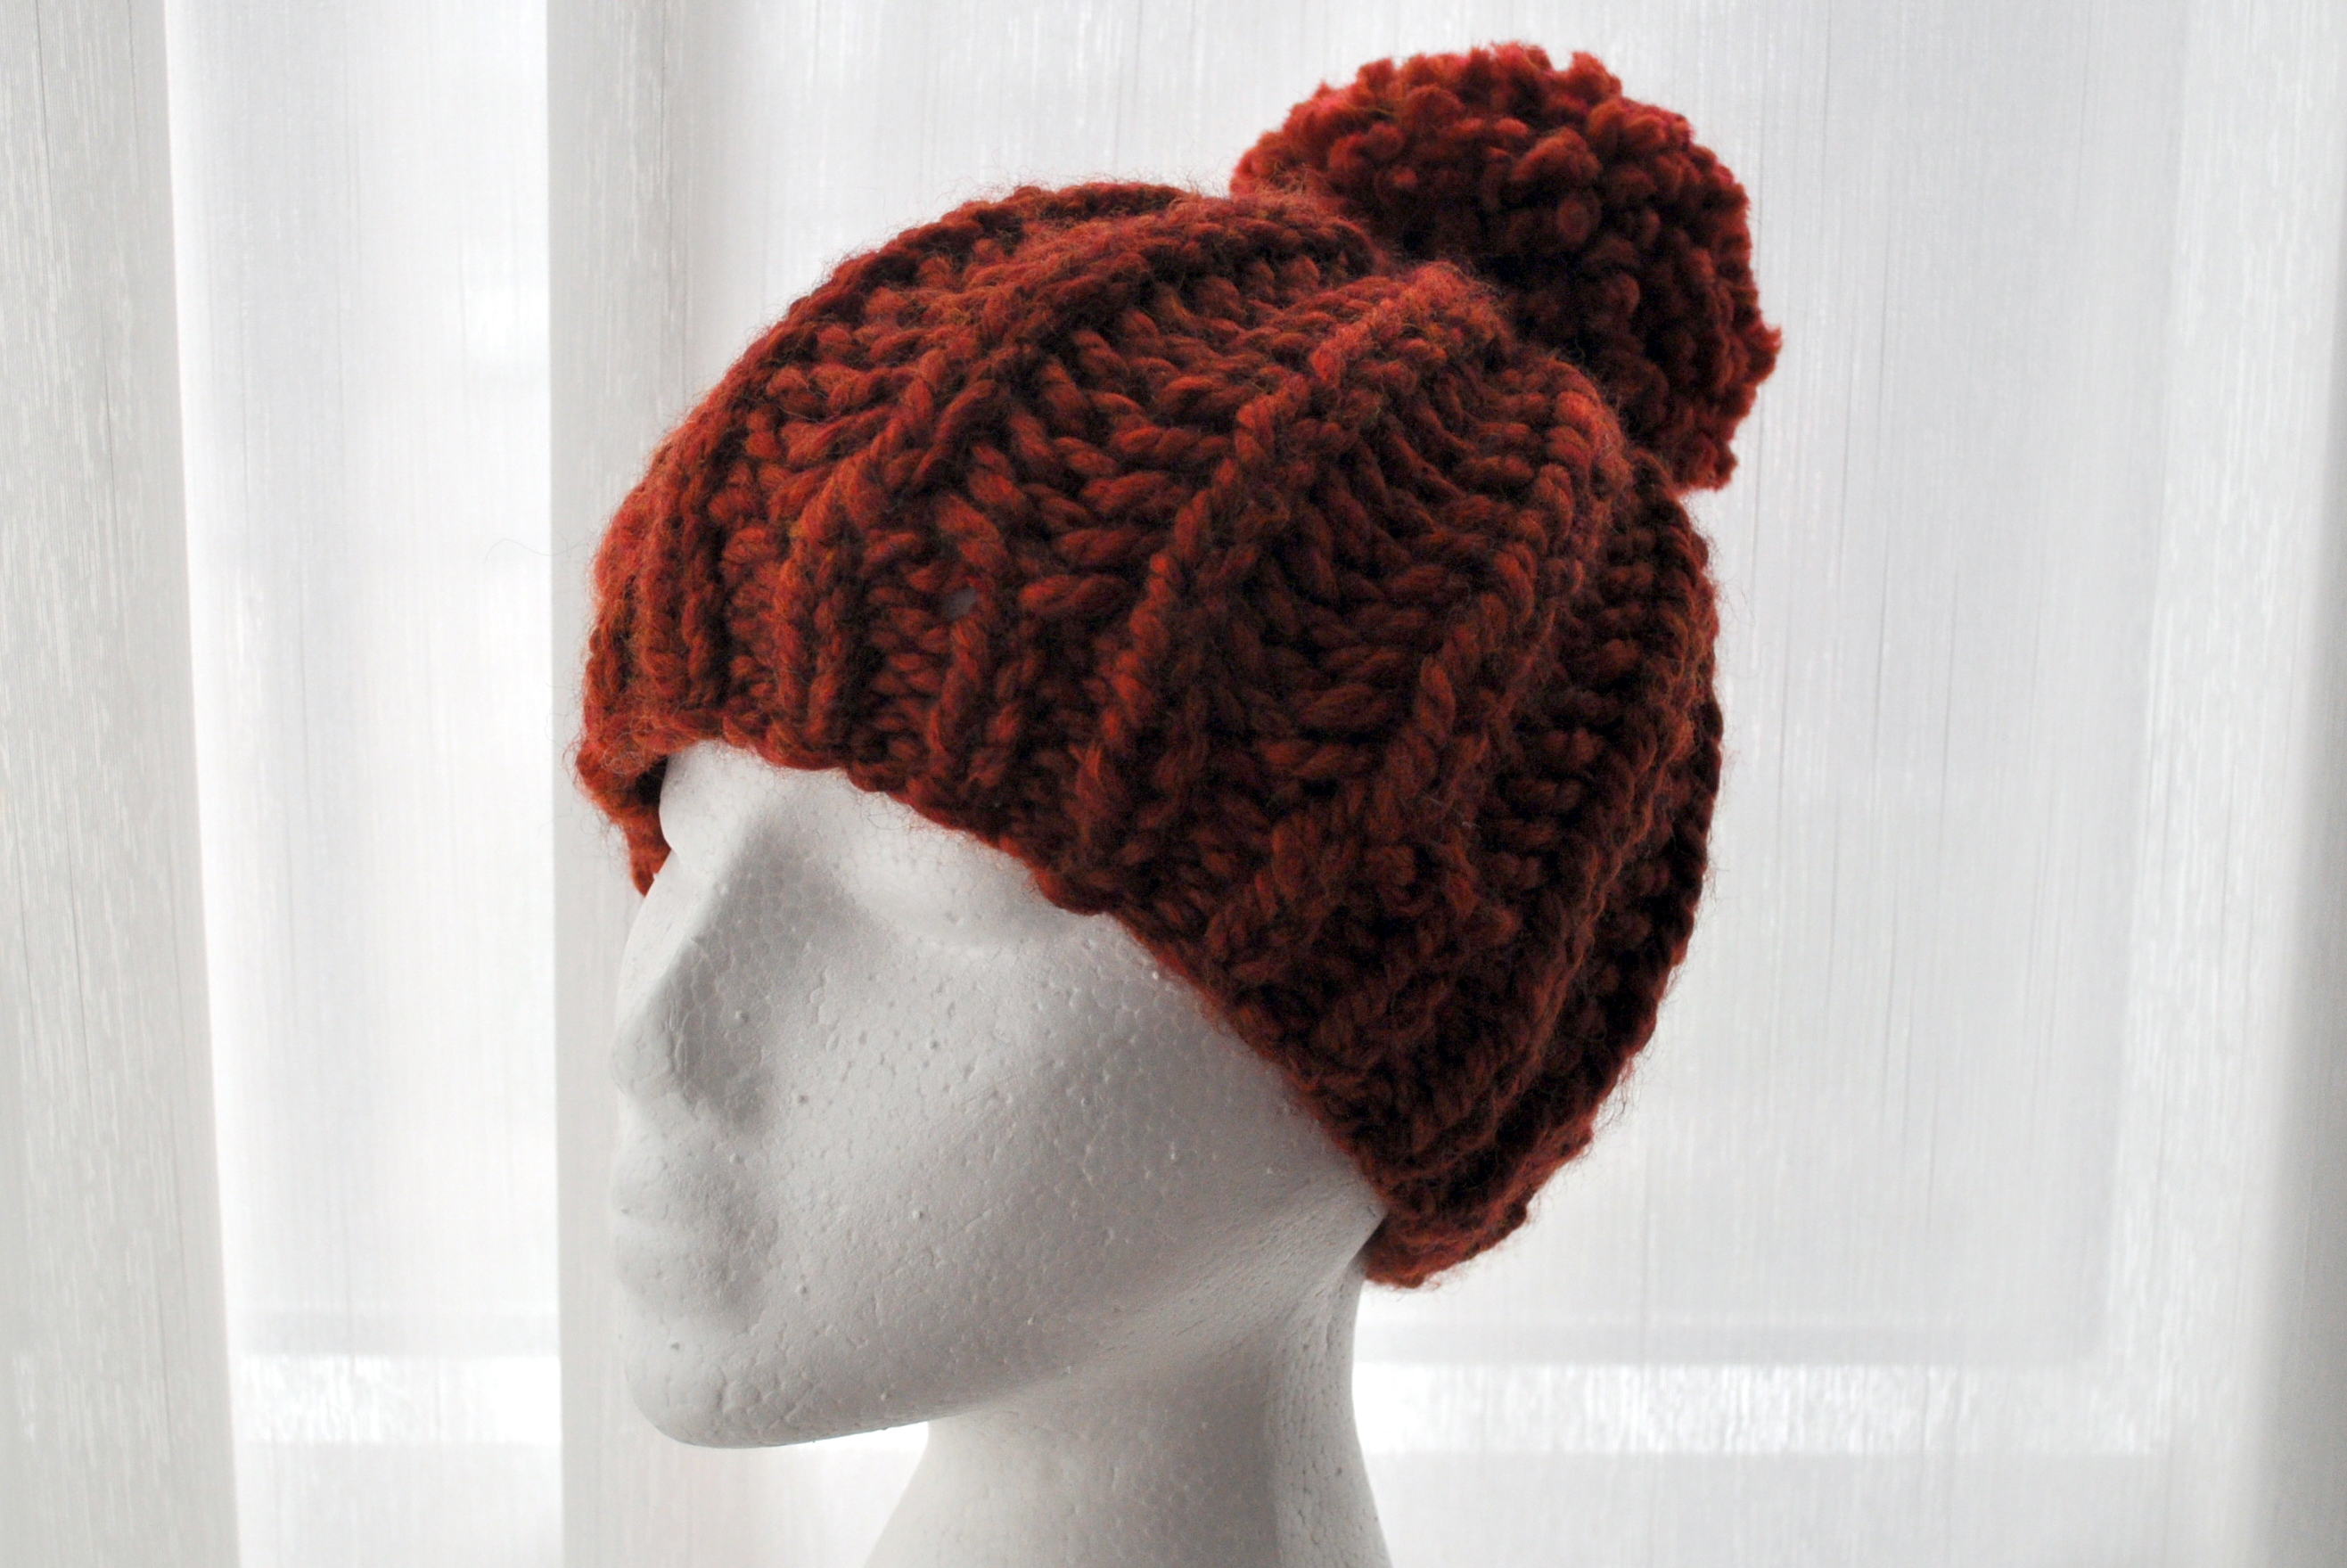
(Please excuse my ghetto-fabulous styrofoam head purchased for $2.99 at a thrift shop. It suffered major structural damange in the move to China. At least the hat covers the giant dent in the top of the head…)
I’ve used my ever-favorite Lion Brand Wool-Ease Thick N Quick yarn, and size 13/15 16″ circular needles for this project. To replicate the beautiful smooth design of the original photo, I assume you can use a nice fancy thick single ply roving alpaca wool. One of these days I’ll actually pony up and buy some.
To knit this hat, you will need to know the following:
- k1 below
- p1 below
- k2tog
- ssk
K1 below and p1 below sound waaay scarier than they really are. Here is a picture tutorial on how to do both from the ever-dependable Purl Bee. Here is a great video for k1 below, and here is a great video for p1 below. Read/watch through them, be ready to try them out. Ready? Okay!
Cast on 42 stitches with size 13 needles (16″ circular). Join to work in the round and place marker.
Rows 1-5: k1, p1 rib
Row 6: switch to size 15 needles. K2tog, p1 below, repeat around. (28 st left)
NOTE 1: On this row, when you p1 below, you will be purling into a knit stitch every other purl due to the stitch groupings of 3. Do not be alarmed. Purl into the knit stitch (BELOW, drop that top loop off!) and continue with faith. You will also have what seems to be now a ridiculously small hat. Again, faith, my friends, and carry on!
Row 7: k1 below (into the k2tog stitch), p1 as normal into the p1 below stitch from previous row. Repeat around.
NOTE 2: this row is going to look like a hot mess. You’re going to wonder if you’re doing it right, because it looks really ugly; there will be weird lumps and loops everywhere. Keep that faith going – it’ll be about four rows of ribbing before the hat pattern starts to look ‘right’. I promise it looks better on your head.
A quick photo tutorial on “k1 below into k2tog stitch”:
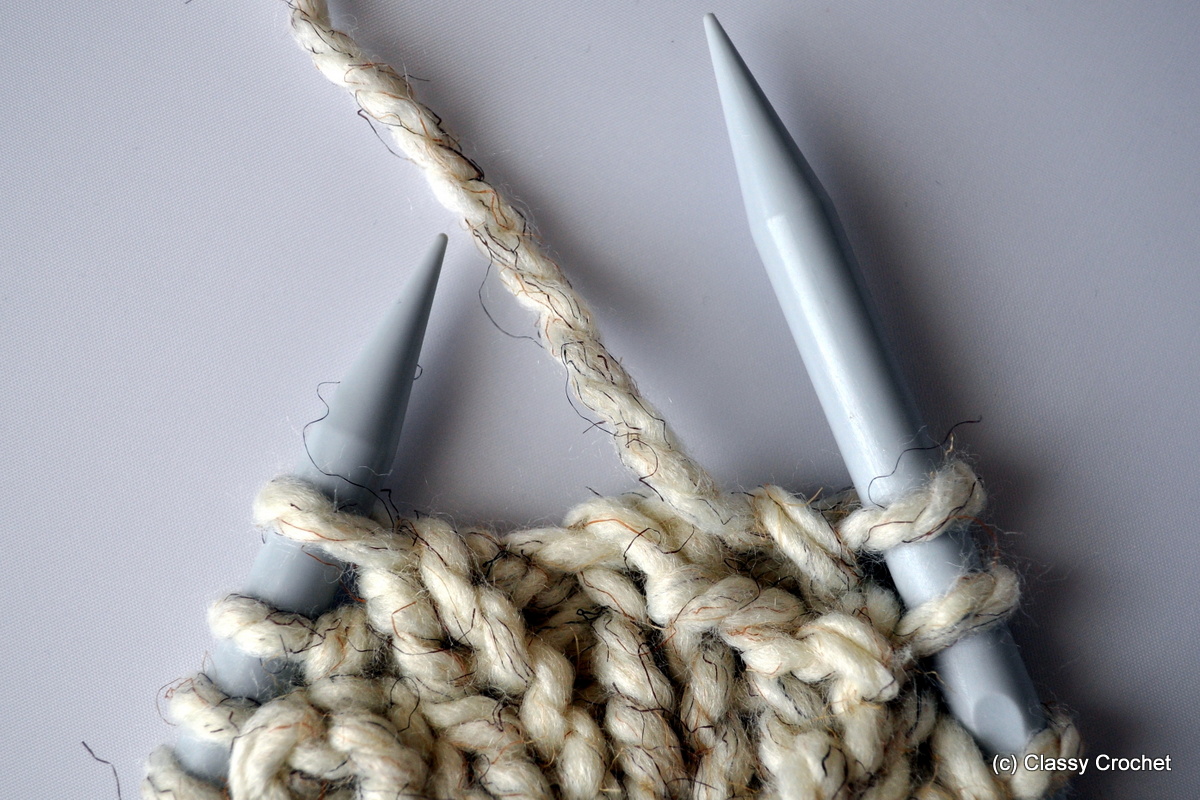
Here, I’ve just purled normally, and am ready to k1 below into the k2tog from previous row

I’ve circled the two loops of the k2tog. Insert your needle through both loops to k1 below.

Insert your needle into the aforementioned loops…

Knit and draw your loop through…

Now the scariest part: lift the top loop off of the needle and drop it. Yes, drop it!

I like to give the back of the loop a bit of a tug to loosen it up. It will feel like you’re intentionally dropping a stitch and pulling it apart, but you’re NOT. Have faith! This extra yarn is what creates the nice stretchy fabric between ribs.
Row 8: k1 as normal (into k1 below stitch), p1 below. Repeat around.
Row 9: k1 below, p1 as normal (into p1 below stitch). Repeat around.
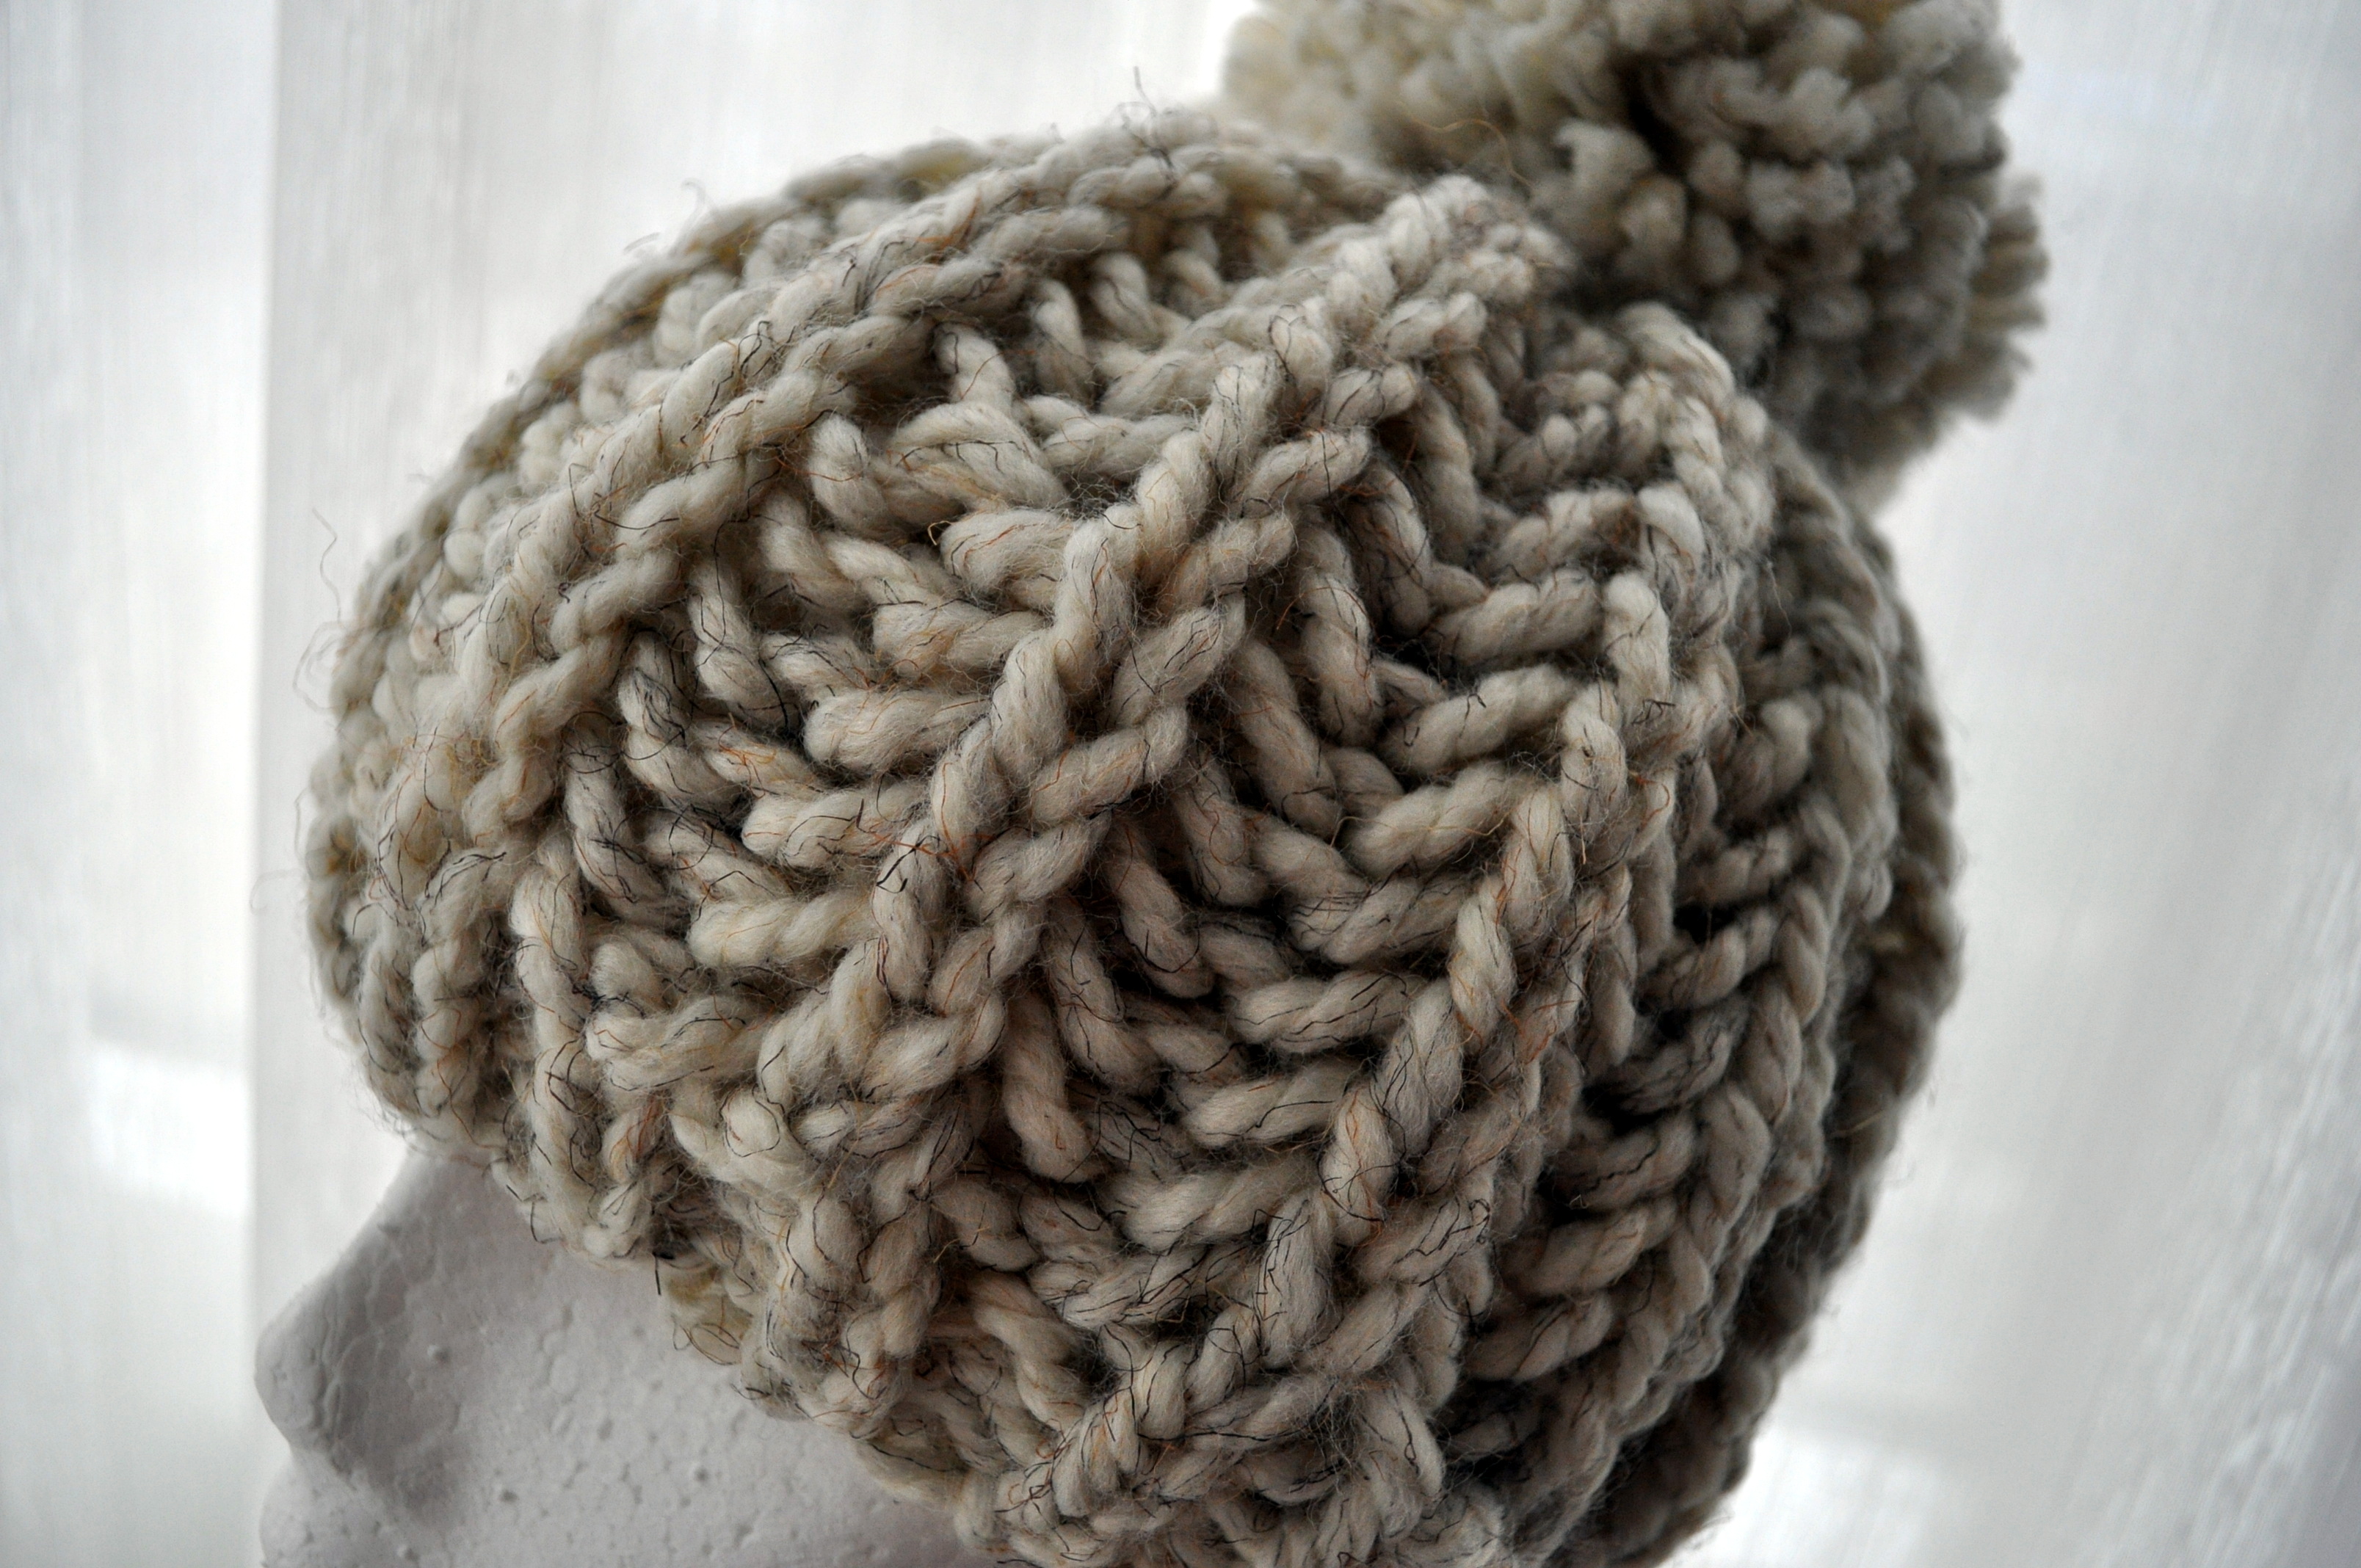
Rows 10 and on: repeat rows 8 and 9 until hat measures about 6.5-7″ in length. (This was about 12 rows of fisherman rib for me.) Make sense? You’ll be alternating k1/p1below and k1below/p1 every row.

This is what your hat will look like after several rows. It looks way too small, but it will magically stretch. A lot.
Decrease sequence: (transfer onto DPNs at this point)
Row 1-3: k1, p1 in a regular rib around. (Keep these rows loose otherwise they bunch up from the fisherman rib)
Row 4: k2tog, repeat to end of round.
Row 5: knit
Row 6: ssk, repeat to end of round. Draw tight, fasten off.
Make extremely large pompom. (As always, I tout my extra large pompom maker from Clover.) You’ll have two tails from tying it together; use these to thread into hat, sew a few stitches to secure, and then tie a square knot. Secure some more, and fasten off. The very top of the hat will look a little off from the fisherman rib. The pompom should cover up any weirdness.
Squash hat on head and proceed to feel very hipster. Hooray for hipster hats!

FINAL NOTE: you can probably make this hat easily using a real brioche stitch and you will probably end up with better results. Be sure to let me know if you do.
Follow along with the project gallery on Ravelry! 


Pingback: KNITTING TUTORIAL: STATEMENT HAT | How To Crochet
Pingback: HOW TO FIND THE ENDS OF THE YARN | How To Crochet
Pingback: EASY and FAST Bonnet Hat For Baby – 4 Righties | How To Crochet
Pingback: How to Knit a MESSY BUN HAT in 7 Easy Steps | How To Crochet
I made this as my second project. I took a little time to figure out how to do it on straight needles and I made it a little smaller for my 2yo daughter but it turned out awesome!! I can’t wait to get started on one for myself.
LikeLike
How do you work out how to make it bigger or smaller? My daughter is 2 also and I’d like to make us matching ones 🙂
LikeLike
Hi Amanda, Mommy and Me Hats. I love it! I want to make a smaller version as well, so I have a few questions for you, if you don’t mind. How many stitches did you cast on for your daughters hat? And did you use size US13/15 needles? And did you use Lion Brand Wool-Ease Thick N Quick? Thanks, Sharon
LikeLike
Pingback: Free Pattern: Knit Fisherman Ribbed Hipster Hat – seweasycreations
Pingback: Handmade Holidays Nov. 13: Gifts for Hipsters | Sew Mama Sew
Pingback: KNIT A HAT AND COWL WITH 1 SKEIN OF YARN | How To Crochet
Would you have this in a child size pattern
LikeLike
Thank you so much!!! This is the first hat I have ever knit and the first time I’ve ever done any work with stitches other than just knit and purl. I didn’t make any mistakes and it looks beautiful! So quick to make, I think I’ll make tons more to give as gifts!!
LikeLike
Heya, lovely hat! Is there a version for knitting on straight needles and sewing up a seam? Thanks x
LikeLike
I’m in Romania and can’t find chunky yarn or needles. I have 6 mm circular needles and fingering yarn. Should I double the cast on? Cause I cast on 42 and it’s looking like it wouldn’t fit a preemie. Using magic loop btw and I’m a total noobie
LikeLike
You did a fabulous job! It looks better than the original post you came across! I wonder if I could do it on 2 needles? Shall I try?
LikeLike
This looks fun and I think I shall try it!
LikeLike
Hooray! Let me know if you have any questions 🙂
LikeLike
Pingback: HOW TO KNIT FAST AND EASY CHUNKY RIBBED HAT – handcraft
Reblogged this on jillkrahling and commented:
Fisherman Hat Instruction Page
LikeLike
Best pattern I’ve ever read. Thank you so much for sharing, including your commentary to keep going when it looks wrong. Ever so helpful!
LikeLike
Fabulous instructions, the best I’ve ever used.
LikeLike
I’m so glad you like the hat! I’m actually working on an updated version (slightly easier, no strange ridges) to be released very soon!
LikeLike
Pingback: Free Pattern: Fisherman Knit Rib Hat UPDATED! | Classy Crochet